

This post contains affiliate links. Read my full disclosure.
Homemade sugar scrub is probably the simplest natural DIY I have in my bank of recipes. And that’s saying a lot, since most natural DIYs are pretty easy to make.
Here’s a little backstory on my sugar scrub evolution.
My sister-in-law first shared a flight attendant sugar scrub hack with me soon after I married her brother 18 years ago. To combat dry hands from the lack of humidity on planes, she would pour a sugar packet into her hands along with a pump of handsoap and scrub away, then rinse. (Flight attendants are actually full of genius travel hacks, if you didn’t know.)
After using this method for several years at home, it eventually occurred to me that some olive oil would be more moisturizing then soap.
And before too long, the recipe in this post using coconut oil was born. This scrub is way less messy and easier to use than the olive oil version and smells much nicer, too.
Sugar Scrub Benefits
Dry skin can be a problem year-round, NOT only in the dry winter months.
The hands of us busy moms in particular can really take a beating. When you’re washing dishes, bathing kids, changing diapers, cleaning the house, and washing your hands constantly in between tasks, it’s nearly impossible to keep your hands soft and smooth.
And now, adding to all of that the constant hand-washing and sanitizing to avoid spreading germs, I’m betting I’m not the only one with dry skin.
The great news is sugar scrub is extremely effective (better than moisturizer alone) because it moisturizes and gently exfoliates your skin.
The result of using sugar scrub is incredibly soft and moisturized skin that feels amazing! If you have never tried it, you are going to wonder where sugar scrub has been all your life. And it is so simple to make. There’s no need to buy a pre-made version.
In fact, by making your own sugar scrub, you can avoid any unnecessary and potentially toxic chemicals that might be in a store-bought sugar scrub. Ingredients like parabens, phthalates, and artificial fragrance are known endocrine-disruptors and frequently found in ready-made skincare products. Avoid all risk of that by mixing up your own.
Supplies You’ll Need To Make Sugar Scrub
Here’s what you will need to make your own exfoliating scrub. You probably already have everything you need!
White Granulated Sugar
I prefer to use sugar and not salt for DIY exfoliation because the granules are smoother, finer, and less abrasive overall compared to salt. This is important when your skin is already irritated and fragile from dryness.
Coconut Oil
Coconut oil in this sugar scrub recipe is what provides the deep moisturizing, helping to rehydrate your dry skin.
Essential Oils (optional)
If you leave out the essential oils, you will still have a perfectly wonderful sugar scrub that smells coconut-y. If you want to add some aromatherapy to your scrub like I do, these are a few of my favorites.
- Peppermint This makes an awesome homemade holiday gift.
- Lavender Classically relaxing, you can add dried lavender to make it even prettier and more heavenly-smelling.
- Lime & Bergamot This is fresh, cheerful, and my favorite for spring & summer.
- dōTERRA On Guard Perfect for cold & flu season to support health and immunity.
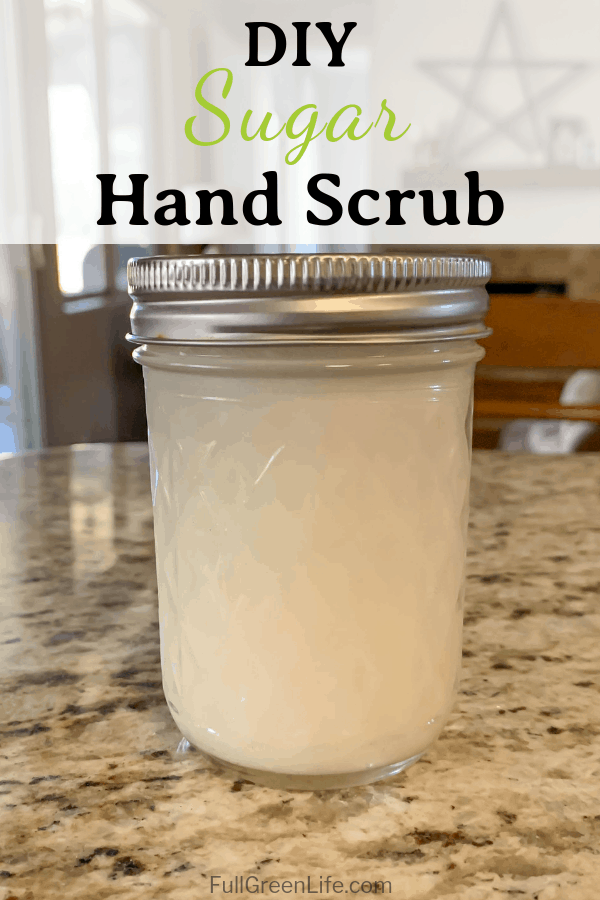
Jar
A short, wide-mouthed jar with a lid is ideal, but you can use any container that you have. I like to use either a repurposed food jar or a jelly jar.
How To Adjust The Consistency
The proportions given below in the recipe are my personal preference for consistency but it is easy to adjust. If you prefer a drier, courser consistency, add a little sugar to your mixture. If you prefer a smoother consistency, increase the coconut oil.
How To Use Sugar Scrub
Hand Scrub
To use this recipe for hands, just scoop out a generous amount of scrub from your jar and scrub away for several minutes. Be sure not to skip over extra dry areas, like knuckles and between fingers to really get the most out of the exfoliation of the sugar. Warning: this is a highly addictive form of self-pampering! It feels so good. You’ll see.
Once you’re done, just rinse to remove all the sugar. If you feel the need to follow with hand soap, try to avoid the back of your hands so that the oil can remain and continue to moisturize your skin. I usually give my hands a good rinse and pat them dry to keep the benefits of the coconut oil going for as long as possible.
Body Scrub
If you want to use this as a body scrub, it works wonderfully for that, too! Just keep your jar in the shower or by the bath and scoop some out when your body needs a little rejuvenation.
In the summertime, using a body scrub all over works well for keeping your exposed skin bright and glowing. And in the cooler months, it’ll keep your legs from getting dry, flaky and neglected-looking underneath your jeans.
Lip Scrub
I also love to use this as a scrub for flaky lips. You only need a little. Just rub a bit of scrub across your lips with a finger, for a couple minutes. Then rinse well and follow up with a great lip balm.
Face Scrub…Maybe
I recommend using caution if you want to use this as a face scrub and you are prone to breakouts like I am. For me, coconut oil flares up my acne, but I know others do not have that issue. So if you try it on your face, keep a watchful eye on your skin’s response.
Is Coconut Oil a Solid or a Liquid?
Coconut oil is a solid at temperatures below 76 degrees Fahrenheit. Any temperature above that and the oil will be a liquid. Because of this fact and depending on the climate where you live, your coconut oil may be in a solid or a liquid form.
Coconut oil can be used in this sugar scrub recipe in either state. Usually in the cold of winter, your coconut oil will be solid. It will soften easily and mix together with the sugar without trouble. Use your fingers for mixing (rather than a utensil) to speed the process.
How Long Will It Last?
This sugar scrub recipe has quite a long shelf life. As long as you keep the lid on it when not in use, it should last up to 6 months. (Of course, you are likely to use it up way before that!) Coconut oil itself has a long shelf life of up to two years compared to other oils, which is one of the reasons I prefer to use it over other oils in this recipe.
A little pampering and self-indulgence are always in order, so mix up some homemade sugar scrub for yourself! It also makes a great handmade gift for any occasion with a pretty ribbon and note tied around the rim of the jar!
Here’s how to make DIY Sugar Scrub!
DIY Sugar Scrub

This is a simple sugar scrub recipe that can be customized with your favorite essential oils. Soothes and heals dry skin all over your body.
Materials
- 1/2 cup organic coconut oil
- 1 cup granulated white sugar
- 20 drops essential oil of your choice
- a short, wide-mouthed jar with a lid (jelly jars work well)
Instructions
- Measure coconut oil and sugar into a mixing bowl.*
- Use a spoon to mix the ingredients together until well-combined. If your climate is cold and the coconut oil is solid, you can use your fingers to speed up the mixing process.
- Add 20 drops of essential oils of your choice and mix into your scrub.**
- Spoon your scrub into a sealable jar. Use within 6 months.
Notes
*If you prefer a drier consistency, add a little sugar to your mixture. If you prefer a smoother consistency, increase the coconut oil.
**Great essential oils to use for sugar scrub:
- Peppermint
- Lavender
- Lime & bergamot
- dŌTERRA On Guard
Resource: Healthline

Tina says
Can this be used on legs also or just hands?
Natalie says
Tina, you can absolutely use this on your legs or anywhere on your body! I would not, however, recommend using it on your face since coconut oil can be comedogenic and clog your pores. From personal experience, it would definitely make my face break out. Let me know how you like your scrub!
Unknown says
This worked out perfect I also added Aloe Gel and it still worked great!!! Thanks!!!!
Natalie says
Awesome! Thanks for that idea!