Like many people, my lips are sensitive and get dry fairly easily. I notice it even more if I fall behind on my water intake, which happens easily here in the desert Southwest. There aren’t many things that bug me more than dry lips! Which is probably why I always have some kind of lip balm or gloss with me Everywhere. I. Go.
Can you relate?
Benefits of Homemade Lip Balm
For lots of years now, I’ve been really choosy about the ingredients in my lip balm, avoiding parabens, phthalates, petroleum, artificial junk and anything made in China. It seems like a no-brainer that something you apply so close to your mouth should definitely be safe to ingest.
This post contains affiliate links. Read my full disclosure.
We are lucky that there are plenty of natural brands out there in 2020 to buy if you don’t want to make your own lip moisturizer. The only problem is that most of those options will come in single-use plastic packaging and may still contain some preservatives that you might prefer to avoid.

I do love making my own products, and lip balm is pretty straightforward. Plus, DIYing is always a great fail-safe way to keep the toxins out of your personal care products.
If you’ve been around my blog before, you might know that I’ve got a big family and certainly no time to kill, so I generally do not try to undertake DIY projects that are super time-consuming. And this Lip Balm is not! It takes about 10 minutes of “active” time. After that, you’re just letting it cool down until it’s ready to use.

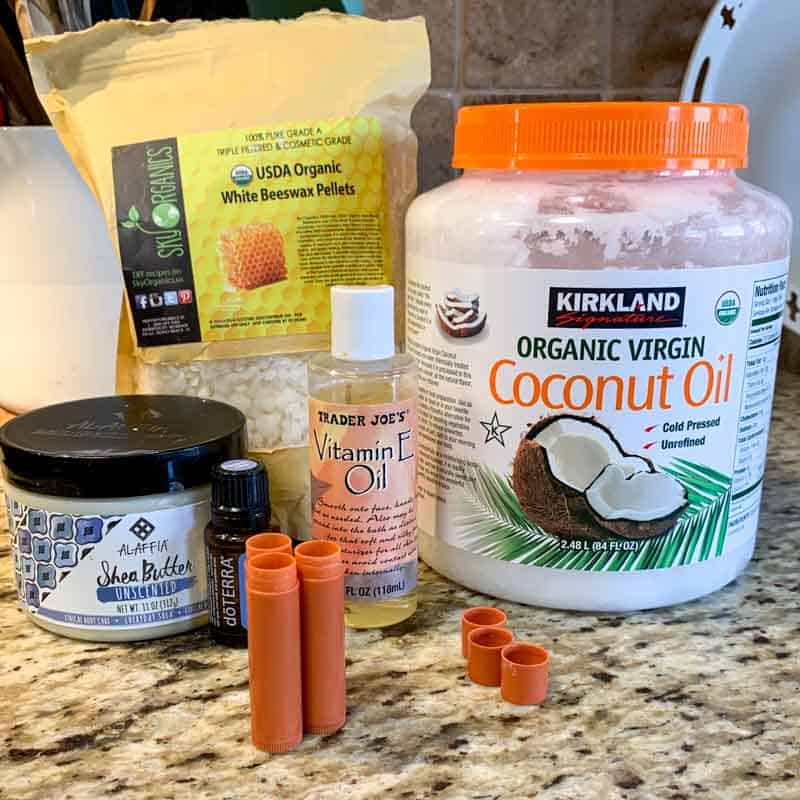
Key Ingredients in DIY Lip Balm
Beeswax
Beeswax is a byproduct of honeybees that is known to have antibacterial properties. It’s also historically been used to treat numerous skin conditions. In lip balm, beeswax is useful because it creates a protective barrier on the lips to help protect your lips and prevent moisture loss. Please note that because beeswax is a bee-derived product, this recipe is not vegan. (Not to worry if you’re vegan, though. I will be posting a vegan-friendly recipe sans the beeswax and will link it here.)
Coconut Oil
Coconut oil is very moisturizing for the skin. It contains antimicrobial properties which allow it to help protect lips that are healing while providing deep hydration at the same time.
Shea Butter
Shea butter has powerful anti-inflammatory and antioxidant properties, promoting the skin’s natural barrier and protecting lips’ moisture.
Vitamin E Oil
Vitamin E oil moisturizes and heals your lips. You can use the gel caps filled with Vitamin E oil or a bottle of Vitamin E oil.
Note: If you plan on making other DIY recipes, I suggest purchasing a small bottle of Vitamin E oil rather than capsules. Vitamin E oil is a valuable ingredient that can be added to lots of DIYs like DIY eye makeup remover, lotions, and homemade beauty products, and it’s way easier to squeeze from a bottle than it is to extract it out of the little capsules.
Essential Oils for Lip Balm
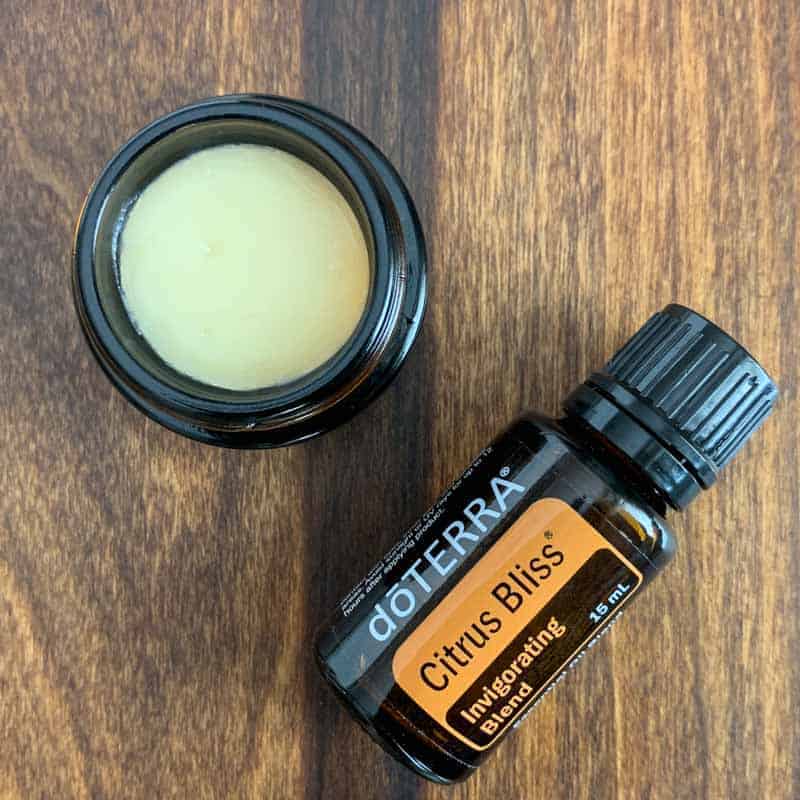
Essential oils in this lip balm recipe are used mainly for their aromatherapy abilities. Peppermint and dōTERRA Citrus Bliss are two of my favorite scents to use for lip balm, but any others could also be used.
For Very Chapped Lips: If you are making a balm for severely chapped lips, try adding lavender and/or frankincense oil for added skin-health support.
Always be sure you’re using only high-quality essential oils, like those from dōTERRA, especially when you’re creating a product that will come in contact with your body.
Other Supplies You’ll Need
- empty containers (chapstick tubes or small pots) to store lip balm in
- double-boiler or a small pot with a heat-safe bowl resting inside
- heat-safe utensil for stirring hot oils
- eyedropper for easy filling of lip balm containers
Containers for Storing Homemade Lip Balm
The easiest-to-use, cheapest, and most zero-waste container for DIY lip balm is one that you already have at home. If you have some old chapstick tubes or lip balm pots that are almost empty, those will be perfect for reusing to store a fresh batch of homemade lip balm in. Just clean ’em out (see how-to below), screw it back all the way to the “down” position, and they’ll be ready to reuse.
How To Clean Out Old Chapstick Tubes
First, make sure you’ve used as much of the original product from your tube as you can. To clean your containers , scoop out any remaining product from the tube using wooden skewer, toothpick, or the tip of a knife. Then, wipe out as much old product as you can with a cloth. To remove any residual oils that still remain in the tube or pot, heat a small pot of water. Then, carefully move the empty tube around in the hot water using a pair of tongs. This effectively melts off any of the original product. Do this for several minutes, until no more visible residue remains in the tube. Remove the tube from the hot water. Once the container has cooled down, wash with soap and water and let dry. Now, it’s ready to be reused.
If you don’t have any old containers to reuse, I really like these 15 mL glass pots from Amazon. They are a small investment upfront (less than $15 for 12) but can be used over and over again. I also find that they’re the perfect size for cuticle cream, under eye moisturizer, and other DIY beauty items.

Another good alternative are these cardboard lip balm tubes that can be composted or recycled after you’ve used them. They push up from the bottom, making them very simple to use and perfect for lip balm.

DIY Lip Balm

This ultra-moisturizing lip balm recipe is non-toxic and easy to mix up and customize with your choice of essential oils. Perfect for refilling empty chapstick tubes for a low-waste option.
Ingredients
- 2 teaspoons beeswax pellets
- 2 teaspoons coconut oil
- 2 teaspoons shea butter
- 4 drops vitamin E oil
- 10-20 drops of essential oils
Instructions
- Collect the containers that you plan to fill with lip balm. Set them aside nearby, lids off, and ready to be filled.
- Set up your double boiler. If you don't have an actual double boiler, you can easily manufacture one. You'll need a small pot of water that you'll heat. Then you'll need a heat-safe bowl that fits on top of the pot. Place a couple inches of water in the pot and then set your bowl on top of the pot. The bottom of the bowl should not be touching the water below.
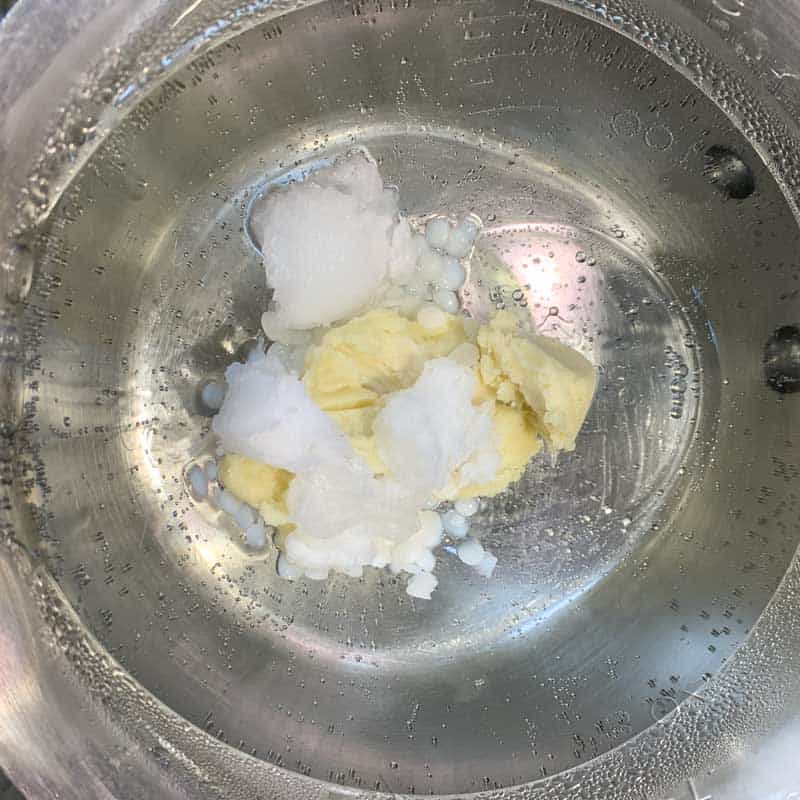
- Add the beeswax pellets, coconut oil, and shea butter to the top bowl of your double boiler. As the water from below begins create heat, the oils will begin to melt in the bowl.

- Stir the ingredients together constantly and gently. The coconut oil will melt first, then the shea butter, and the beeswax will take the longest. Be patient and continue to heat and stir until the beeswax pellets are completely melted.Add the vitamin E oil and stir.

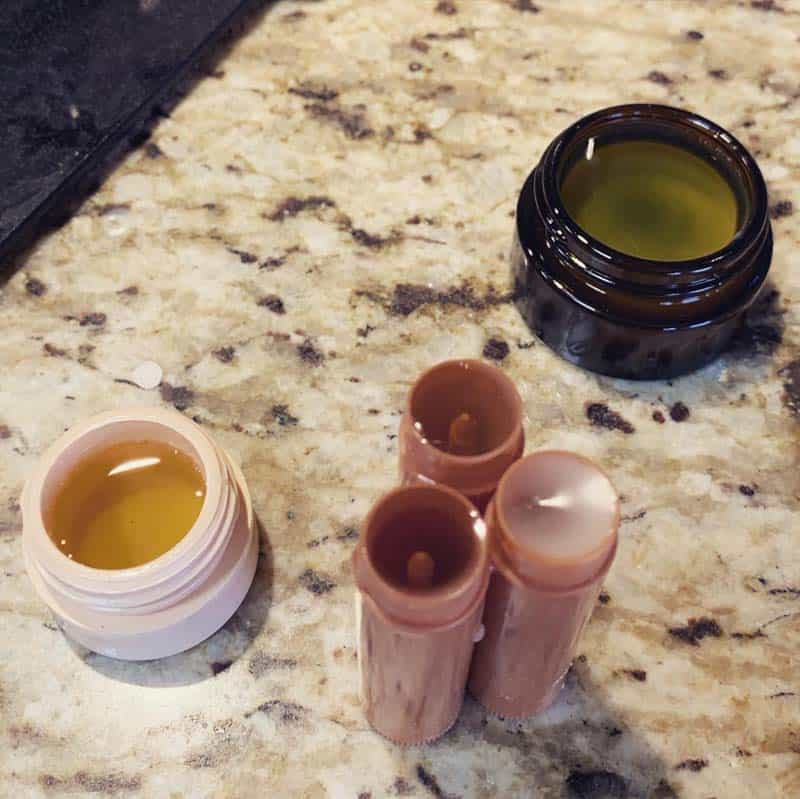
- Turn off the heat. Add the essential oil drops. Stir. Then immediately begin transferring the hot liquid into your empty lip balm containers using the dropper.

- Once all of the lip balm liquid has been transferred out of the double boiler and into the balm containers, allow them to sit for a few minutes to begin to set up.

- After about 5 minutes, in order to speed the cooling process, you can carefully transfer the lip balm containers to the refrigerator. Leave them there for about an hour, and they should be totally cooled down, set, and ready to use.
Notes
1 batch of lip balm (6 teaspoons) will fill approximately six standard .15-ounce plastic chapstick tubes or two 15 mL glass pots
Recipe can be halved or multiplied as needed
Super simple, isn’t it? I hope you love making your own lip balm as much as I do!
You might also like: Best Etsy Products For Going Zero Waste


Sources: https://www.ncbi.nlm.nih.gov/pubmed/15724344

Charlotte says
Hi Natalie,
Thank you for sharing your lip balm recipe. We are also in AZ and in desperate need of some lip treatment without all the yuck. We plan on making some this weekend. I was wondering if you have a recipe for a skin balm or lotion. My son is highly allergic to petroleum and currently using a balm that is soooo expensive, and i have terrible dry skin and can’t find anything commercially to heal it. Thank you for your time.
Charlotte
Natalie Clausen says
Thanks for your comment, Charlotte! I don’t have a recipe on the blog yet, but I do make my own moisturizer using coconut oil and shea butter. If you have a hand mixer, that’s perfect for whipping it together until it’s nice and smooth. The shea butter is pretty firm, so you can adjust the amounts of each oil to get the consistency that you like. Hope that helps!
A. Farooq says
Also, is it safe to add lemon and rose essential oils in this recipe? I’ve read that essential oils can be harmful to ingest. Please clarify, thank you.